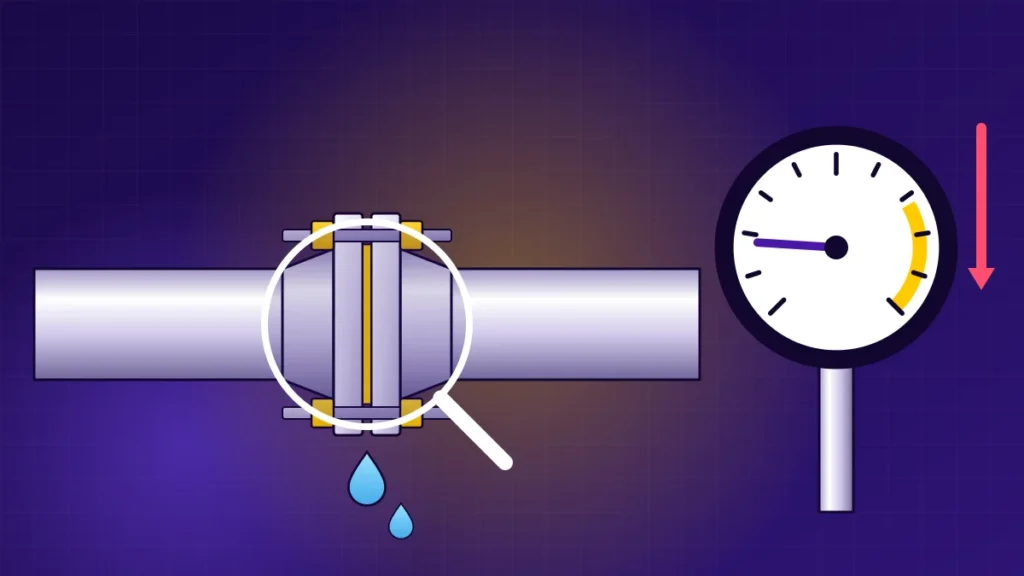
A hydrotest “fails” when the system leaks or cannot hold its pressure for the required time. It is tempting to assume a bad weld, but in practice most failures come from other causes. Finding the real one quickly saves days.
1. Leaking flanges
Flanged joints are the most common leak points in a test. Causes include:
- bolts not tightened to the right load, or unevenly tightened;
- temporary gaskets, damaged gaskets or the wrong gasket type;
- damaged flange faces;
- test blinds with poor gaskets or bolting.
Our article on why flanges leak covers these causes in detail. Professional bolt torquing before the test prevents most of them.
2. Passing valves
A valve that does not seal fully lets pressure escape into another part of the system, and you may see no visible leak at all. Common culprits are isolation valves at the test boundary, drain and vent valves, and check valves.
Tip: use blinds or spades at test boundaries instead of relying on closed valves.
3. Temperature changes
In a full, rigid system, water pressure changes noticeably with temperature. If the water cools during the hold (for example as the sun goes down), pressure falls even with no leak. If it warms, pressure rises.
Tip: record water or pipe temperature with pressure. Many procedures include a temperature correction calculation.
4. Trapped air
Air pockets compress and expand, making the pressure unstable and slow to settle. Air also adds stored energy, which is a safety risk.
Tip: fill from the lowest point and vent all high points fully before pressurising.
5. Small-bore connections and fittings
Threaded connections, instrument tubing, plugs and small valves often weep under test pressure.
6. Weld and material defects
Real weld defects, such as porosity, lack of fusion or cracks, do appear, but they are less common if NDT was done well. A weld leak usually shows as a wet spot or a fine spray at the weld.
7. Instrument problems
A faulty or uncalibrated gauge or recorder can show a drop that is not real. Two gauges on the system help confirm readings.
How to find the leak
- Check temperature first. If the pressure drop matches cooling, it may not be a leak.
- Walk the system and look at every flange, valve, fitting and weld.
- Check boundaries: is water appearing beyond a closed valve?
- Isolate sections, if possible, to narrow down where pressure is lost.
- Check instruments against a second gauge.
What happens next
- Depressurise before any repair. Never tighten bolts or repair leaks while the system is at test pressure unless the procedure specifically allows it at a reduced pressure.
- Repair: re-make flange joints with new gaskets, replace faulty valves, or repair welds.
- Weld repairs usually need the repair procedure, NDT and sometimes heat treatment before re-test.
- Record the failure and repair, often as a non-conformance report (NCR).
- Re-test to the same procedure.
How to avoid failures
- Use controlled bolting on all flanges in the test boundary.
- Use new, correct gaskets, not temporary ones.
- Use blinds rather than valves at boundaries.
- Fill and vent carefully.
- Calibrate gauges and record temperature.
For the rules that set test pressure and hold time, see hydrotest pressure and hold time.
Frequently asked questions
Is a small pressure drop always a failure?
Not if it is explained by temperature and the procedure allows a correction. Otherwise, it must be investigated.
Can I re-tighten a leaking flange during the test?
Only as your procedure allows, and usually only after reducing pressure. Tightening under full pressure is dangerous.
Does a failed test mean the welds are bad?
Usually not. Flanges, valves, fittings and temperature are much more common causes.
Our hydrotest services include test preparation, bolting, testing and records in Al Jubail, Abqaiq, Tabuk and more. Contact us.


